NEEDLEPOINT AREA RUGS:
LEARN FROM A MASTER!

When designing needlepoint area rugs, where does your inspiration come from?
Having designed many carpets professionally over the years, I understand what a major role carpets can play in interior design.
They are a key element in any interior to give a room not only a physical but also an aesthetic ‘base’. Furniture and furnishing styles, and particularly colours, are dictated by your choice of carpet.
The same rules apply to designing needlepoint carpets and area rugs.
So where to start? Start by learning from a master!
And I don’t mean me!
STUDYING FROM A MASTER CARPET DESIGNER
For many years I have been in awe of the master carpet designer... William Morris.
His Arts and Crafts carpets from the late 19th century are masterpieces in the juxtaposition of colours and in the creation of free flowing organic shapes and elegant proportions.
From his vast collection, I selected a Hammersmith hearthrug design from the 1880’s. It was not a large carpet originally, so it should suit the scale of a needlepoint area rug.
In order to study his design thoroughly, I decided to photograph the needlepoint process step-by-step, which will give you an overview of the steps required to realize your own needlepoint project.
STEP ONE: Painting the needlepoint canvas
Once I established the size I wanted for the final carpet, I drew the design on an antique-coloured mono evenweave 12 gauge needlepoint canvas.
I then painted the needlepoint canvas by hand, meticulously making sure that no detail was lost. The hand painted canvas below is ready to be stitched.

STEP TWO: Needlepoint Stitching
First, I matched the needlepoint wool yarns to the original carpet colours.
Then I had the great pleasure in stitching it!
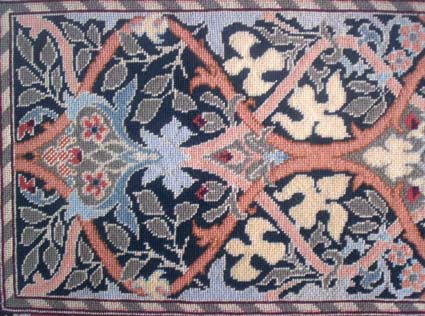
If you look at the close-up photos of the stitching, you can see the beautiful range of soft blues juxtaposed with a rich rust colour and gentle peach tones.
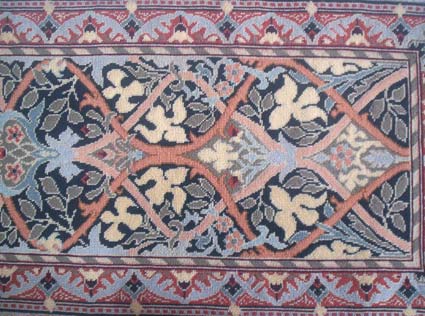
I particularly love the curvaceous and very graphic shapes of the soft yellow irises.
STEP THREE: Needlepoint Blocking
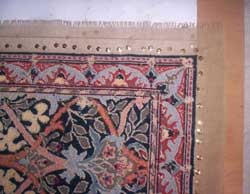
Stitching always distorts the needlepoint canvas to a certain extent, so I had to block the canvas.
After spraying the back of the needlepoint tapestry with distilled water, I then stretched it face down onto a large piece of plywood covered with blotting paper, making sure that it was perfectly straight before tacking
it down with a small hammer.
For more detail on how to block your stitched needlepoint tapestry, go to the HOW TO BLOCK page.
STEP FOUR: Needlepoint Finishing
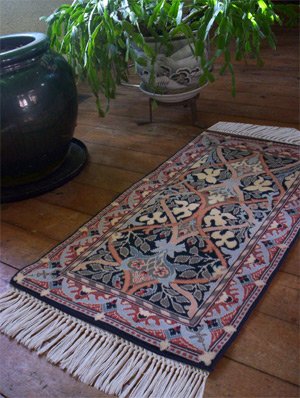
I lined the back of the tapestry with dark blue cotton lining, and added a simple white cotton carpet fringe at each end, just like the original William Morris carpet.
If you're not comfortable taking on the finishing, your local needlepoint shop or upholsterer can finish it for you.
Don't forget, for safety purposes, to put the new tapestry on an anti-slip underpad.
Thanks to the inspiration of William Morris, I have a beautiful needlepoint area carpet for my home.
OTHER FINISHING CHOICES?
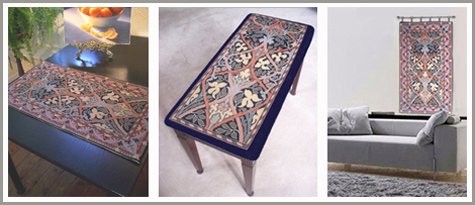
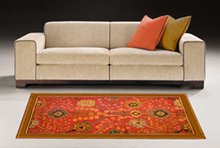
If you don't want to put the finished needlework on the floor.... why not consider one of the above options?
Depending on the size, you could use it as a table runner, or a wall hanging or even, without the border, as a piano bench cover!
Totally up to you!
Click here to GO SHOPPING FOR AREA RUGS with ZIVA!
Go back to the Needlepoint Carpets page to see other area rug designs in the ZIVA Carpet Collection.
From inspirational needlepoint area rugs, go back to Home Page to see other needlepoint designs in the ZIVA Collection.
Like This Page?
Translate any page on this site to your language!


NEW!
NEW!
'MATISSE TRIANGLES' CUSHION DESIGN
NEW!
FREE ART DECO CELL PHONE OR GLASSES CASE DESIGN
NEW!
NEW!
THREE FREE
ANCIENT CHINESE CUSHION DESIGNS
NEW!
THREE FREE
ART NOUVEAU
CUFF BRACELETS DESIGNS
NEW!
TWO PERSIAN
OR

NEW!
GAUDI'S STAINED-GLASS CUSHION DESIGNS
NEW!
ANOTHER MACKINTOSH INSPIRED DESIGN!
WITH MANY USES...
TRAY, FRAMED, CLUTCH BAG OR CUSHION!
TWO MORE
STAINED-GLASS DESIGNS
FOR CUSHIONS
TWO MORE
JAPANESE DESIGNS
FOR
OR
FOR YOUR WRIST OR ON A BASE
YOU CHOOSE!
MORE!
INSPIRED BY A PICASSO PAINTING!
FOUR MORE
FRENCH COUNTRY DESIGNS
FOR
OR
MORE!
NEW!

NEW!
NEW!
NEW!
NEW!
INSPIRED BY MACKINTOSH!
NEW!
NEW!
MORE
MORE
STAINED GLASS CUSHION PATTERNS
NEW!
FOR CHRISTMAS STOCKING!
NEW!
INSPIRED BY PICASSO!
FOR A COIN PURSE OR CARD HOLDER
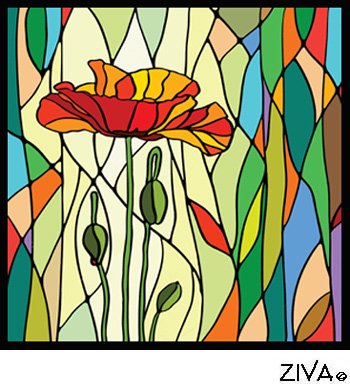
NEW!
FOR CUSHIONS

FOR LOTS OF MAKING UP IDEAS!
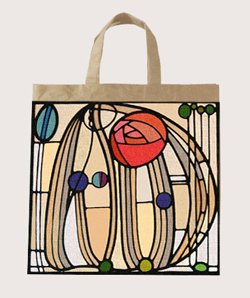
FOR TOTE BAGS OR HANDBAGS
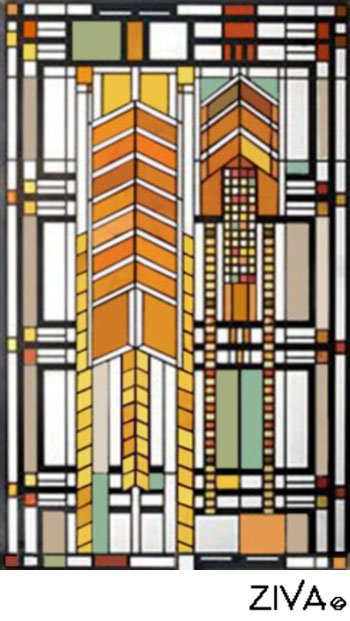
FOR NEEDLEPOINT ART
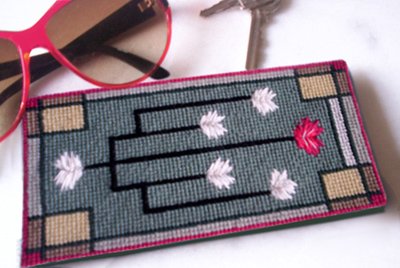
IN THE PRAIRIE STYLE!
INSPIRED BY
MATISSE!
INSPIRED BY
GUSTAV KLIMT!
INSPIRED BY
MACKINTOSH!
CUSHION DESIGNS
'MY FRENCH COUNTRY' SERIES
