INSTRUCTIONS AND TIPS
ON HOW TO START!
You’ve just bought a kit or chart or ideally a hand-painted canvas (from ZIVA!), and you want to know how to start it.
The following tips will help you!
HOW TO START: PREPARING THE CANVAS
• You should always allow at least 2 to 3 inches of extra canvas all around the needlepoint design. This is later trimmed when you’re sewing on the backing.
• It’s a good idea to place the canvas on a piece of sturdy paper, like blotting paper and draw round the edges. Keep this outline for use later when blocking the completed canvas.
• Before beginning your needlepoint, it is also a good idea to fold masking tape over the raw edges of the canvas. This stops the canvas from fraying and ensures that you yarn will not catch on the rough edges.
HOW TO START: ORDER OF STITCHING

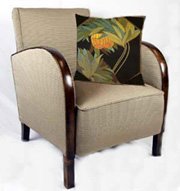
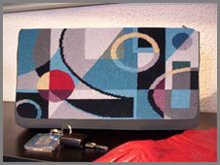
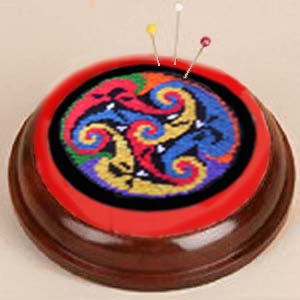
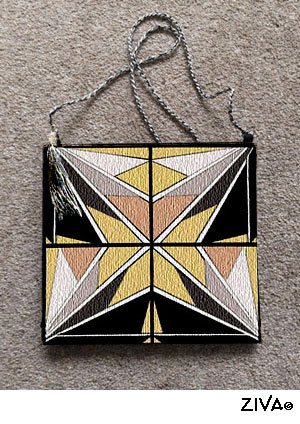
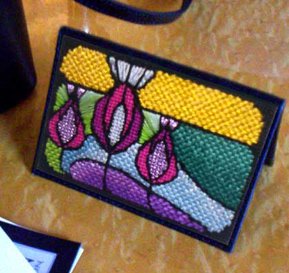
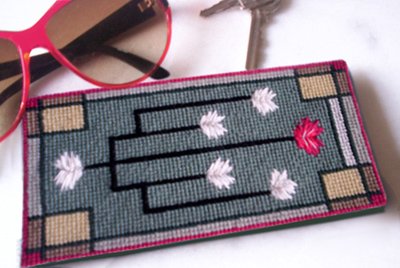
• As you can see from the photo above of stitching in progress, I worked this handpainted needlepoint canvas, from the top down, and from right to left.
I finished two sides of the internal row of the geometric border, before starting the centre to be sure I’d got the border count right!
I always stitch the detailed areas first, and the background after I’m satisfied with the detail.
Please click on photo to learn more about this cushion design.
• For designs with non-geometric borders, you should complete the central design first, then the border, and lastly the background.
• With geometric designs, build up your pattern bit by bit. If you start in one place and jump to another, you may have difficulty in fitting the pattern together!
• Work with the darker coloured yarns first when possible; this will help prevent the light coloured yarns from becoming soiled.
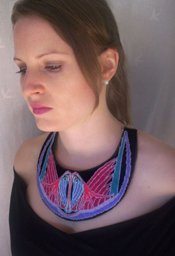
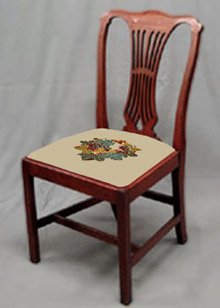
HOW TO START: FRAME VS NO FRAME
Working on a frame can reduce the need for blocking, but I personally like having my needlepoint canvas in my hand, because I love the tactile nature of the craft.
However, if you are prone to bouts of loose or tight stitches, purchase a frame.
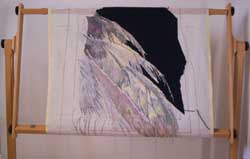
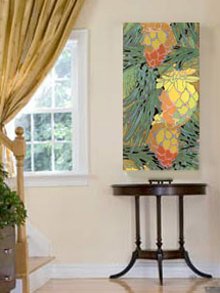
This photo shows one of my seat cover needlepoint designs being stitched on a floor frame.
In this instance, the frame is important because it allows my client to see the whole desired colour effect as she works her way down the canvas.
A definite advantage.
Please click on photo to learn more about this seat cover
design.
Go to the Needlepoint Equipment page for more discussion on using a frame or not. Also you will find more information on the types of frames available.
For or Against using a Frame?
Click here to share your views or experiences with our visitors!HOW TO START:
WORKING FROM PRINTED KITS OR HAND-PAINTED DESIGNS
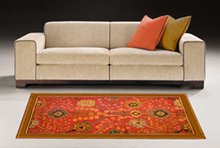
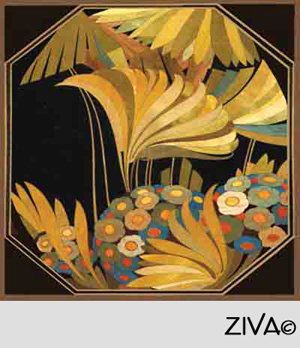
• Whether you’re working from a printed kit or a hand-painted canvas (like the one below from ZIVA), read all the needlepoint instructions thoroughly before you start. Always follow the recommended order of stitching they may suggest.
• Place a small strand of each colour of yarn onto a chart to make sure you understand the colour distribution, particularly if the colours are subtle.

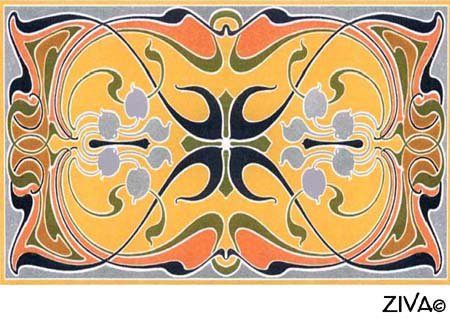
• As you can see from the photo above of my hand-painted canvas area carpet, the design and colours are depicted extremely well so the stitching becomes very straight forward, even for a detailed design like this one.
Just follow the design and colours on the canvas...no counting required!
Take your time and enjoy the simple pleasure of working with your hands!
HOW TO START: WORKING FROM A CHART
• When starting, mark the outside dimension of the whole design onto the canvas with a bright yarn or a waterproof pen or pencil.

Note that each square on the graph equals one stitch on your canvas.
You simply count the number of squares of a particular colour on the chart, then work the number of stitches onto the canvas.

Some manufacturers only provide black and white charts that are coded to the yarn colours.
It’s advisable to colour in the chart immediately to make it less confusing.
HOW TO START:
STARTING AND FINISHING A STRAND OF YARN
• The length of the yarn should be no longer than 14 to 18 inches. If too long, the yarn will get twisted and also fray, and will become thinner towards the end of the strand and your stitches will look uneven.
• The method for starting and finishing the ends of the yarn is the same no matter what type of stitch you use.

HOW TO START A STRAND
• Knot the end of the yarn. Then about 1 inch from where you want to start, insert the needle through the canvas from the right side to the wrong side.
• Pull the yarn through leaving the knot on the front surface. As stitching progresses,
the yarn underneath will be secured.
HOW TO FINISH A STRAND
• When the length of yarn is finished, secure the end by running the needle through a line of stitches on the back.
• Any knots or loose ends on the back of the work should be snipped away after secured.
• Then for the next strand, you can ‘feed’ the yarn through a few stitches at the back of the canvas and then bring the yarn through to the front at the desired position.
• Do not carry yarn across back of fabric when going to another area of the canvas; always weave the needlepoint through the back of a few stitches...providing you are not going more that a few inches.
Otherwise, you should re-start in a new area as explained in the above ‘How to Start’ a strand. This prevents the canvas from getting too bulky or, even worse, lumpy when you are blocking it.
TIPS WHILE STITCHING
• Snip off loose ends to prevent tangles, especially where dark and light shades are adjacent...small bits of fluff can get into the pale shades, spoiling the colour.
• If the yarn becomes twisted as you work, allow the needle and yarn to dangle from the fabric and the yarn will unwind itself.
• Test any painted canvas to make sure it is waterproof before you start.
• An occasional mistake is stitching may occur! Don’t worry! It is best to make corrections as soon as they are discovered by unthreading the needle and using the eye portion to gently pull stitches out.
THESE ARE THE START UP TIPS WE HAVE PICKED UP AFTER OVER 20 YEARS OF STITCHING... AND SOMETIMES WE LEARNED THEM THE HARD WAY!
WHAT ARE YOUR TIPS WHEN STARTING UP?
Share Them With Us!
What special tips have you picked up when starting a new project?
Do you organize your yarns in a special way?
Do you have a unique order of stitching that works every time?
When starting up, have you decided to stitch your large canvas in segments? Do you find it easier to handle? Or do you prefer stitching large projects in one piece on a frame with a floor stand?
Share your starting up tips with us!
I hope all our needlepoint tips and instructions are helpful.
They may seem daunting at first, but take it slowly.
If you learn these basics of how to start a needlepoint project, they will become second nature in time!

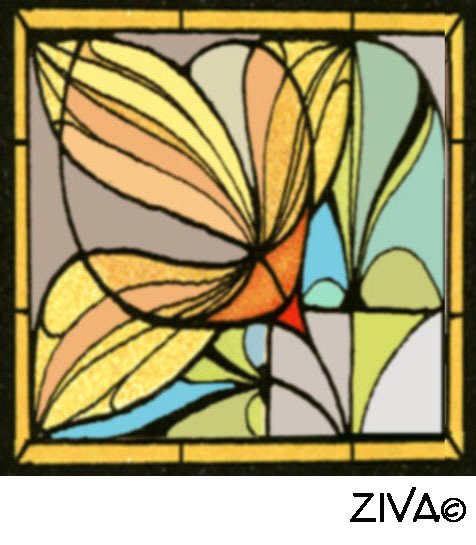
So get started! I’m sure that you’ll end up with a stunning result just like this William Morris area carpet I just finished recently!
Please click on photo to learn more about this area carpet design from ZIVA.
Click here if you need to review the basic needlepoint stitches before you start stitching.
You’ve learned how to start needlepoint projects...now you can go to the next step and learn how to finish them! ... starting with how to block. your stitched canvas.Click here.
Click here for more information on needlepoint frames and lamps.
To check out these needlepoint designs and others from the ZIVA Collection, go back to Home Page.
Like This Page?


Translate any page on this site to your language!


NEW!

NEW!
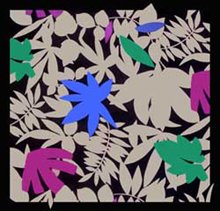
'MATISSE TRIANGLES' CUSHION DESIGN

NEW!
FREE ART DECO CELL PHONE OR GLASSES CASE DESIGN

NEW!

NEW!
THREE FREE
ANCIENT CHINESE CUSHION DESIGNS

NEW!
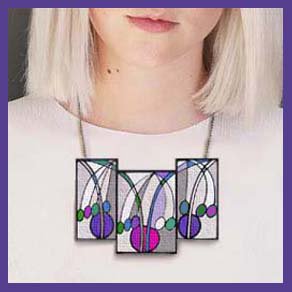
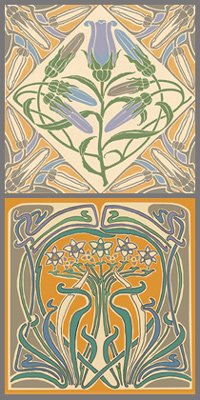
THREE FREE
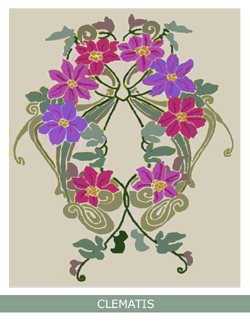
ART NOUVEAU
CUFF BRACELETS DESIGNS

NEW!
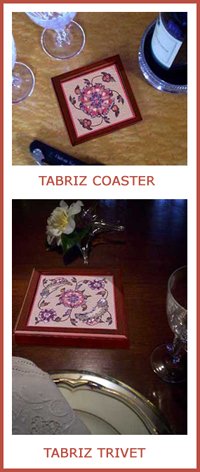
TWO PERSIAN
OR

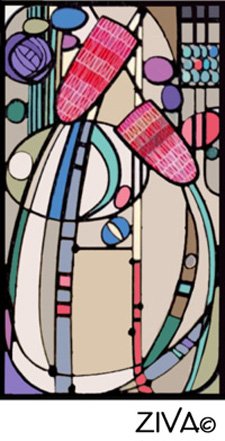
NEW!
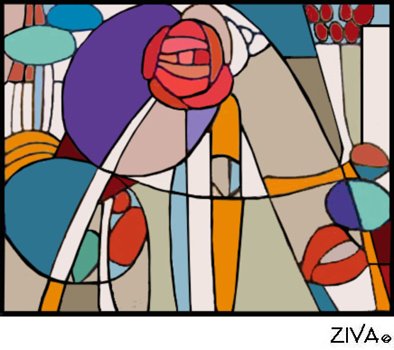
GAUDI'S STAINED-GLASS CUSHION DESIGNS
NEW!
ANOTHER MACKINTOSH INSPIRED DESIGN!
WITH MANY USES...
TRAY, FRAMED, CLUTCH BAG OR CUSHION!
TWO MORE
STAINED-GLASS DESIGNS
FOR CUSHIONS
TWO MORE
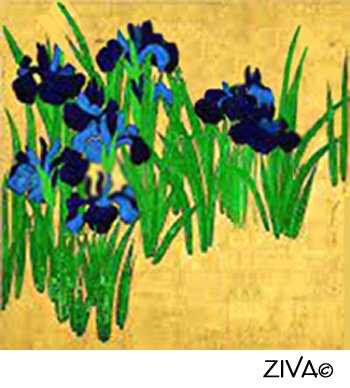
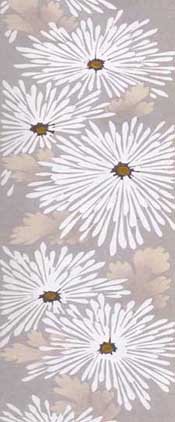
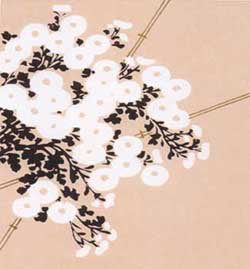
JAPANESE DESIGNS
FOR
OR
FOR YOUR WRIST OR ON A BASE
YOU CHOOSE!
MORE!
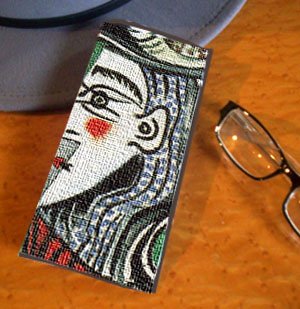
INSPIRED BY A PICASSO PAINTING!
FOUR MORE
FRENCH COUNTRY DESIGNS
FOR
OR
MORE!
NEW!

NEW!
NEW!
NEW!
NEW!
INSPIRED BY MACKINTOSH!
NEW!
NEW!
MORE
MORE
STAINED GLASS CUSHION PATTERNS

NEW!
FOR CHRISTMAS STOCKING!
NEW!
INSPIRED BY PICASSO!
FOR A COIN PURSE OR CARD HOLDER
NEW!
FOR CUSHIONS

FOR LOTS OF MAKING UP IDEAS!
FOR TOTE BAGS OR HANDBAGS
FOR NEEDLEPOINT ART
IN THE PRAIRIE STYLE!
INSPIRED BY
MATISSE!
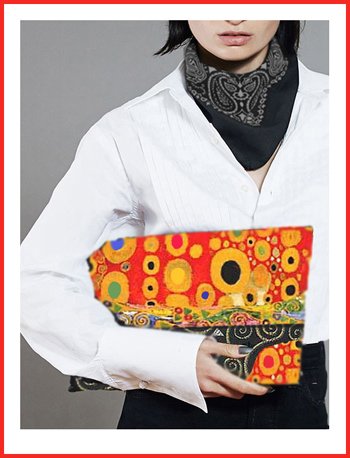
INSPIRED BY
GUSTAV KLIMT!

INSPIRED BY
MACKINTOSH!
CUSHION DESIGNS
'MY FRENCH COUNTRY' SERIES