GET STARTED WITH
THESE BASIC NEEDLEPOINT STITCHES!
These are the only basic needlepoint stitches you need to know to become an obsessive stitcher!
They can be worked three different ways :
• the Continental tent stitch
• the Basketweave tent stitch
• the Half-cross stitch
The right side of the tapestry looks the same with all three techniques, but the appearance on the back of the work varies.
The following diagrams of these basic needlepoint stitches should help you get started!
CONTINENTAL TENT STITCH
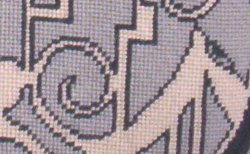
Use this version of the tent stitch only when there is a single line of stitches to be worked.
So use it solely for detail or for outlining a shape.
For example, with this photo, all the shapes have been outlined in black with one row of this stitch. The rest is in Basketweave Tent Stitch.
NOTE: This photo shows a section of the 'Cat on Hot Tin Roof' handbag design. Click here to see the entire bag.
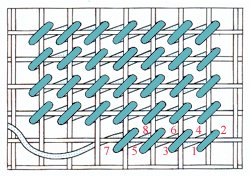
Following the diagram at the right, starting at #1, stitch from right to left for a horizontal row. The same method is applied for one vertical row or one diagonal row.
If finished pieces are worked entirely in the stitch, you will see that the overall effect frequently resembles corduroy.
This basic needlepoint stitch appears the same at the front as the half-cross stitch, but the yarn is carried diagonally across the back of the work, thereby creating a firmer fabric.
BASKETWEAVE TENT STITCH
Very important to master this basic needlepoint stitch!
I use it everywhere possible. Why?
On the reverse side of the work, the needlepoint stitches form a basketweave or interlocking texture that does not drastically distort the canvas and wears well.
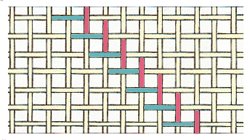
'READ' THE WEAVE!
For the best results with this tent stitch, you should ‘read’ the weave of the canvas thread as your stitching guide.
Take a close look at the diagram to the right of a piece of evenweave canvas. The threads weave over and under each other in turn.
I’ve marked in red one diagonal line of intersecting threads, which all weave over vertically. The next diagonal line to it (turquoise) weaves over horizontally , thus alternating on each diagonal.
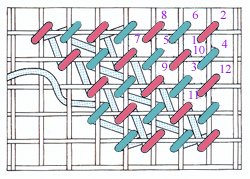
With this in mind, I’ve graphically added needlepoint stitches to this diagram; red stitches on the red diagonal (as shown above) for working down on the vertical row of threads.
The turquoise represents the stitches that you work up on the horizontal intersections.
Always work from the top right (starting at #1) diagonally to bottom left.
WHAT ARE THE ADVANTAGES OF
'READING' THE WEAVE?
• You can tell immediately whether the next row should be up or down, if you have to put your stitching down for awhile.
• You can work design details on different parts of the canvas.
Then when finally working the background, you will not have the problem of unsightly diagonal ridges. This happens when two rows side by side have been worked in the same direction.
• Most importantly, it creates a very even professional result.
All ZIVA's hand-painted needlepoint designs are on evenweave canvas, to ensure quality with the final piece.
DOES YOUR STITCHING CREATE
AN EVEN FINISH?
Share Your Tips!
‘Reading’ the weave is an excellent way for creating even stitching!
Have you found other stitching techniques that give your stitching an even professional look?
Share your tips and experiences with us!
HALF CROSS STITCH
For purists out there, I admit that this is not a tent stitch!
This basic needlepoint stitch appears virtually identical to the tent stitch on the right side, but covers only the horizontal thread of the canvas on the back. This makes it more economical on yarn but less firm.
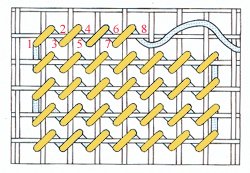
As shown on this diagram of the stitches, work the rows from left to right with each stitch over one diagonal from bottom left to top right.
You have to turn the canvas upside down to stitch the next row.
SOME LAST TIPS!
• If you are a beginner, try all three basic needlepoint stitches and use whichever one you are more comfortable with.
You can use different techniques on the same canvas , but when filling in large areas in a solid colour, always stick to one (preferably basketweave) technique or you will create visible ridges.
• Always try to come up in an empty, or ‘clean’ hole, (one with no previous stitch in it), and go down into a shared, or ‘dirty' hole.
That way, any small pieces of fluff from your yarn will be taken to the back of the work, so adjacent colours stay crisp and clean.
Have my instructions and diagrams inspired you to ‘have a go’?
I’m sure that once you start working on a small needlepoint project with the skill of these basic stitches, you’ll become obsessed like the rest of us!
Happy Stitching!
Click here to see how a needlepoint beginner made a tea cosy with these basic stitches
To learn how to do two other basic needlepoint stitches with a more decorative feature, click here .
To help you go through the steps of ‘How To’ start up and finish a needlepoint project, click here .
To see how these basic needlepoint stitches were used in my designs for the ZIVA Collection, go back to Home Page.
Like This Page?
Translate any page on this site to your language!


NEW!
NEW!
'MATISSE TRIANGLES' CUSHION DESIGN
NEW!
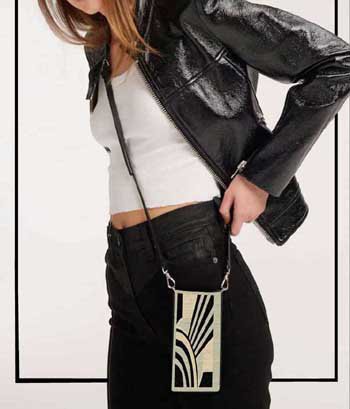
FREE ART DECO CELL PHONE OR GLASSES CASE DESIGN
NEW!
NEW!
THREE FREE
ANCIENT CHINESE CUSHION DESIGNS
NEW!
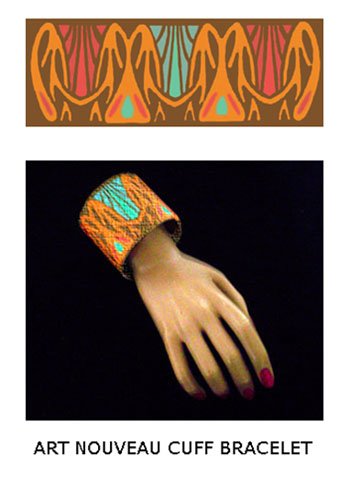
THREE FREE
ART NOUVEAU
CUFF BRACELETS DESIGNS
NEW!
TWO PERSIAN
OR
NEW!
GAUDI'S STAINED-GLASS CUSHION DESIGNS
NEW!
ANOTHER MACKINTOSH INSPIRED DESIGN!
WITH MANY USES...
TRAY, FRAMED, CLUTCH BAG OR CUSHION!
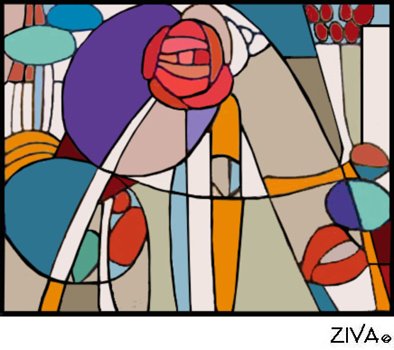
TWO MORE
STAINED-GLASS DESIGNS
FOR CUSHIONS
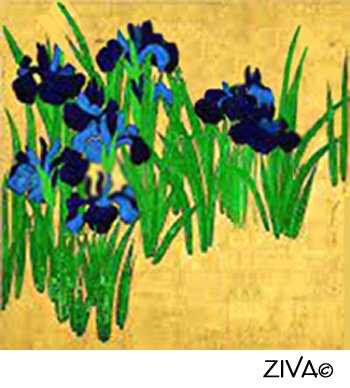
TWO MORE
JAPANESE DESIGNS
FOR
OR
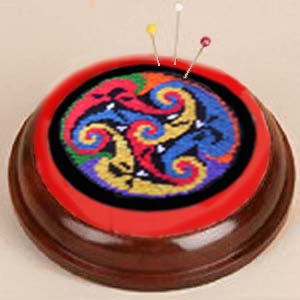
FOR YOUR WRIST OR ON A BASE
YOU CHOOSE!
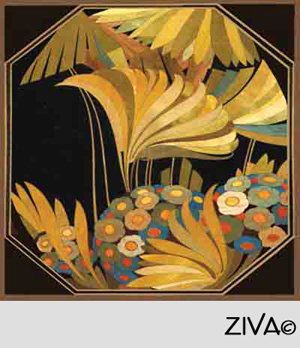
MORE!
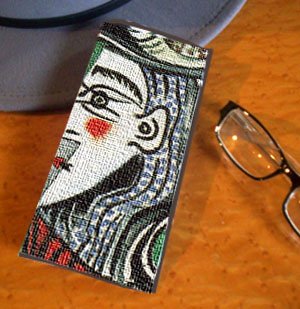
INSPIRED BY A PICASSO PAINTING!
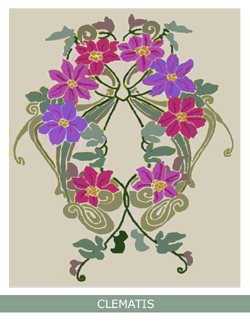
FOUR MORE
FRENCH COUNTRY DESIGNS
FOR
OR
MORE!
NEW!

NEW!
NEW!
NEW!
NEW!
INSPIRED BY MACKINTOSH!
NEW!
NEW!
MORE
MORE
STAINED GLASS CUSHION PATTERNS
NEW!
FOR CHRISTMAS STOCKING!
NEW!
INSPIRED BY PICASSO!
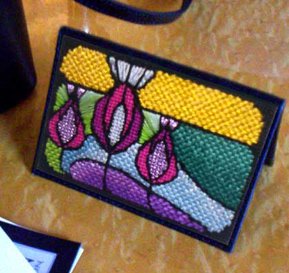
FOR A COIN PURSE OR CARD HOLDER
NEW!
FOR CUSHIONS

FOR LOTS OF MAKING UP IDEAS!
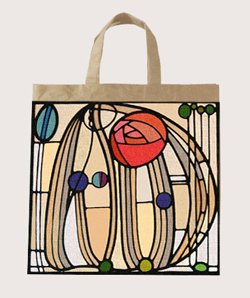
FOR TOTE BAGS OR HANDBAGS
FOR NEEDLEPOINT ART
IN THE PRAIRIE STYLE!
INSPIRED BY
MATISSE!
INSPIRED BY
GUSTAV KLIMT!
INSPIRED BY
MACKINTOSH!
CUSHION DESIGNS
'MY FRENCH COUNTRY' SERIES
