DECORATIVE NEEDLEPOINT STITCHES
MAKE THESE PROJECTS SUCCESSFUL!
Why do I incorporate decorative needlepoint stitches into some of my designs?
Because the design would be compromised if I didn’t!
Normally I like to use the basic ‘TENT’ needlepoint stitches for most of my tapestries because their smooth even finish seems to suit the graphic nature of my designs.
The following descriptions of these two particular decorative stitches will help to explain why I ‘needed’ them .
I’m also including the diagrams of these stitches, if you’d like to give them a try.
FRENCH KNOT
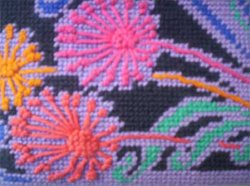
I used the French knot on a small handbag design, ‘Four Fleurs’, in order to create several stamens for the colourful stylized Art Nouveau flowers.
It was the only method to convey the delicacy of the flowers.
This feature also added a lovely three-dimensional tactile quality
to the handbag.
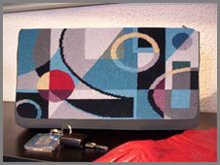
Please click on photo to see this completed handbag design where I used both the stitches described here.
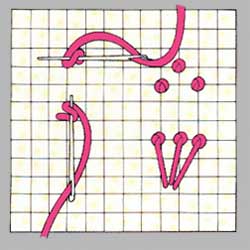
And here’s how to do the French knot!
Bring the needle up through the canvas where you want the finished knot to be.
Point the needle away from you and wrap the thread around the needle.
Holding the thread taut with your other hand, turn the needle back and put it through the canvas above and to the right of the original hole.
To create the stamens on the flowers, work a French knot as described, but re-enter the canvas 3 or 4 threads away to form a knot on the end of the stitch.
STEM STITCH
This decorative needlepoint stitch is normally used to highlight particular sections of a piece and should be worked on top of the finished needlepoint
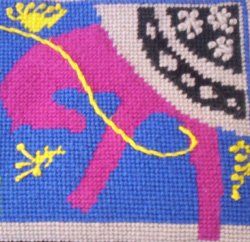
For the ‘Under the Big Top’ handbag design (detail photo shown) which was inspired by Matisse , I needed to add the stem stitch to maintain the fluid movement of the ring masters’ whip.
(Please click on photo to see this completed handbag design where I used both the decorative needlepoint stitches described here.)
With the ‘Four Fleurs’ handbag, the design would have been compromised without the continuous natural lines for the stems of the four flowers.
The flowing stem stitch carries the eye across the bag to the brightly coloured flowers.
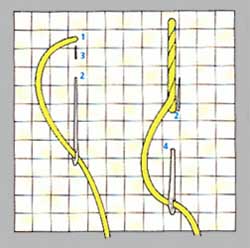
Here’s how to do the Stem Stitch!
Work the stitch by bringing the needle up at 1, down at 2; usually 2 threads away.
Before pulling the yarn down on the canvas, bring the needle up at 3, and pull the yarn snug to the canvas.
Go down at 4, and come up at 2, and tighten the yarn again.
You can hold the yarn to either the left or right of the needle when working in a straight line.
When working a curve it should be held outside the curve.
These handbag designs work much more successfully thanks to these simple decorative needlepoint stitches!
DO YOU HAVE A FAVOURITE
DECORATIVE STITCH?
Share It With Us!
What decorative stitch have you used to give your needlework the special effect you wanted? Where do you like using it and why?
Share your favourite decorative stitch with us!
Before you tackle these decorative needlepoint stitches, click here for diagrams of the basic stitches.
To learn several other decorative stitches, go to the free designs page to see the stitches included in the VIVA ZIVA Newsletters.
Go back to Home Page to see other needlepoint designs in the Ziva Collection.
Like This Page?
Translate any page on this site to your language!


NEW!
NEW!
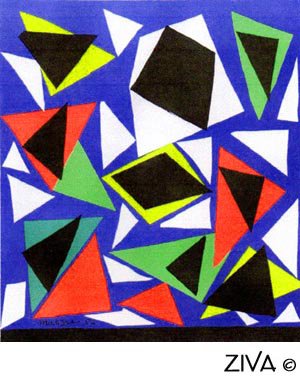
'MATISSE TRIANGLES' CUSHION DESIGN
NEW!
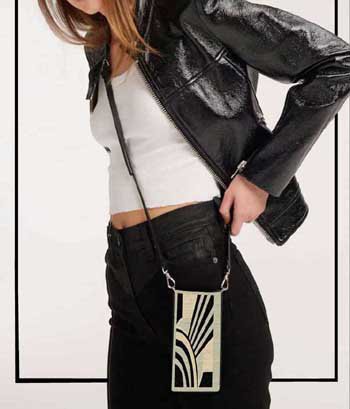
FREE ART DECO CELL PHONE OR GLASSES CASE DESIGN
NEW!
NEW!
THREE FREE
ANCIENT CHINESE CUSHION DESIGNS
NEW!
THREE FREE
ART NOUVEAU
CUFF BRACELETS DESIGNS
NEW!
TWO PERSIAN
OR

NEW!
GAUDI'S STAINED-GLASS CUSHION DESIGNS
NEW!
ANOTHER MACKINTOSH INSPIRED DESIGN!
WITH MANY USES...
TRAY, FRAMED, CLUTCH BAG OR CUSHION!
TWO MORE
STAINED-GLASS DESIGNS
FOR CUSHIONS
TWO MORE
JAPANESE DESIGNS
FOR
OR
FOR YOUR WRIST OR ON A BASE
YOU CHOOSE!
MORE!
INSPIRED BY A PICASSO PAINTING!
FOUR MORE
FRENCH COUNTRY DESIGNS
FOR
OR
MORE!
NEW!

NEW!
NEW!
NEW!
NEW!
INSPIRED BY MACKINTOSH!
NEW!
NEW!
MORE
MORE
STAINED GLASS CUSHION PATTERNS
NEW!
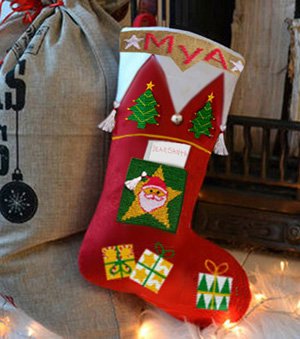
FOR CHRISTMAS STOCKING!
NEW!
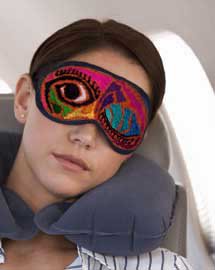
INSPIRED BY PICASSO!
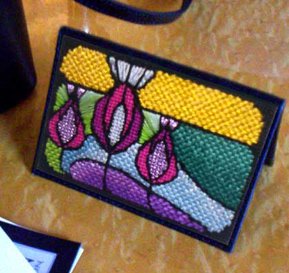
FOR A COIN PURSE OR CARD HOLDER
NEW!
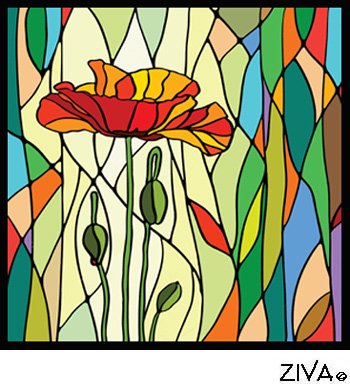
FOR CUSHIONS

FOR LOTS OF MAKING UP IDEAS!
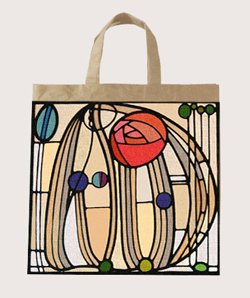
FOR TOTE BAGS OR HANDBAGS
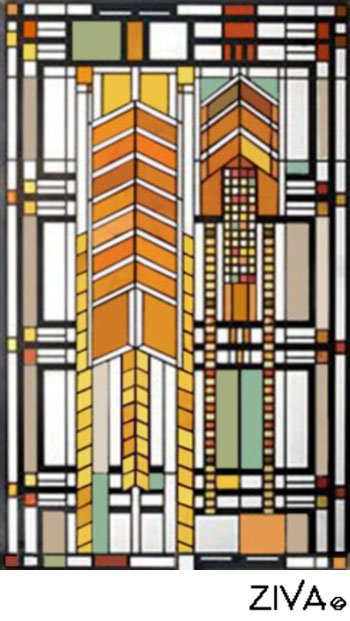
FOR NEEDLEPOINT ART
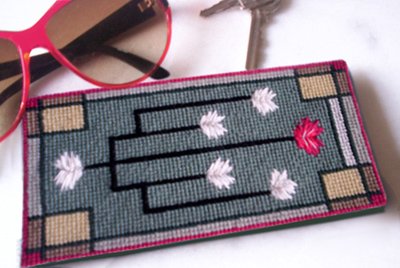
IN THE PRAIRIE STYLE!
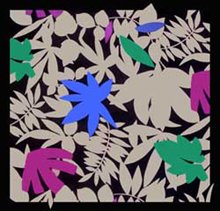
INSPIRED BY
MATISSE!
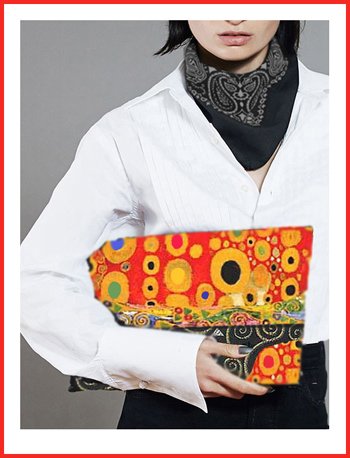
INSPIRED BY
GUSTAV KLIMT!
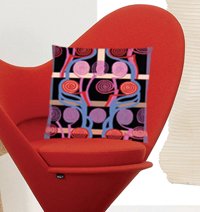
INSPIRED BY
MACKINTOSH!
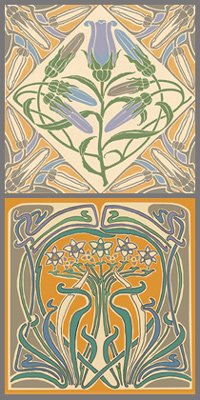
CUSHION DESIGNS
'MY FRENCH COUNTRY' SERIES
