FREQUENTLY ASKED QUESTIONS

I‘ve created this page to address the most frequently asked questions about needlepoint and about ZIVA's designs.
Since setting up my Contact Us page on this website, I’ve been getting lots of questions!
Hopefully these questions and answers help you with what you’re working on, whether you’re a needlepoint beginner or been at it for years.
Also, hopefully it will help you understand better how ZIVA Needlepoint Designs works!
And as always, if you still have a specific question, please Contact me.
I’ll get right back to you.
Here's the list of some of the frequently asked questions I’ve received so far:
- A: If I order a painted canvas from ZIVA, how long does it take for you to hand paint it?
- B: Are you a stitch painter or an artist?
- C: Needlepoint looks interesting. I’d like to give it a try! But how do I to start?
- D: How can you design something especially for me over the internet?
- E: How do I determine the amount of tapestry yarn I require?
- F: Do you include the yarns with your painted canvas kit?
- G: I want to try to design a needlepoint seat cover similar to the one that my mother stitched years ago. What canvas mesh would be right for it?
- H: Re: Needlepoint Piano Bench.
Can the canvas be provided in 2 or 3 pieces that are stitched together upon completion of the stitching?
If I order a painted canvas from ZIVA, how long does it take for you to hand paint it?
I understand that when an order is placed, you would like to receive it as soon as possible.
There are two factors that determine the length of time it takes to paint a canvas for you and when you’ll receive it.
- The first factor is the amount of detail in the design.
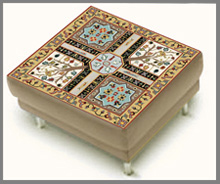
For example, an 16” square cushion design with a simple Prairie Style pattern may only take 8-10 days to paint, whereas the same size cushion in a detailed Persian pattern, for instance, could take 20- 25 days. Our prices reflect the amount of labour required. - The second factor is your timing when ordering.
We, at ZIVA, work on a “first-come-first-serve basis”: it’s the fairest approach to take.
PLEASE NOTE:
When we receive an order, we immediately tell our client the start-up date.
We also send out Progress Reports throughout the painting process to keep you up-to-date.
We will work diligently to get it to you as soon as we can!
Are you a 'stitch painter' or an artist?
I included this question in my first newsletter, but I thought it might interest other stitchers other than my subscribers.
It came from someone who has had a frustrating experience when stitching a hand-painted canvas.
The canvas she received was painted by an artist who did not understand how the stitches can affect the shapes and pattern of the design. So she had to interpret the design too much, and it became a very frustrating experience.
The artist also didn’t take into account the limitations of thread colour selections available to achieve shading. So the lovely effects the artist wanted were lost because there wasn't enough range in the yarn colours to get the desired effect.
'STITCH PAINTING'
So to answer the question, I’m a needlepoint designer and a canvas painter (also called 'stitch painter').
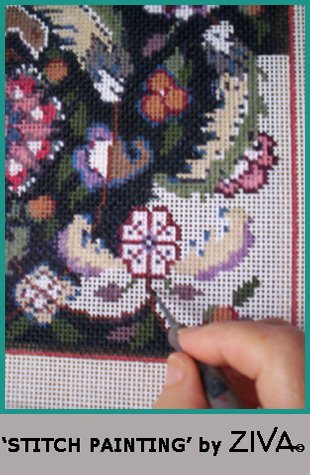
When I paint a needlepoint canvas, I take into account where the stitches will be so the design is not compromised.
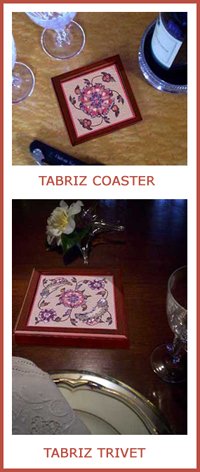
You can see in the close-up photo on the left of the TABRIZ piano bench how each stitch is depicted clearly.
Also all the colours in my designs are selected from actual yarn colours.
No guess work!
Needlepoint looks interesting.
I’d like to give it a try!
But how do I to start?
Great question!
There are a lot of needlework books available giving you basic needlepoint instructions. They also include colour or coded charts with simple projects to try with suggested quantities and types of yarns.
You will also find several Web sites that give you step-by-step instructions on the essential stitches to learn, including this site!
Click here for more detail on learning the basic stitches.
But the best way to start is to find a local needlepoint shop that offers classes.
That way you learn from a professional, who can guide you through the steps firsthand.
Not only do you learn the basic stitches, but they will show you several decorative stitches as well.
Taking lessons also prevents you from picking up any bad stitching habits!
I took my first lessons this way. Over several weeks, we made a lovely sampler cushion, with at least 8 or 9 different stitches. I still have it, and it’s still a great reference!
After you take some lessons, then buy the books and check the websites for needlepoint designs and instructions (including ZIVA of course!).
It will all make more sense to you that way.
Please have a look at my first VIVA ZIVA! newsletter #0901.
It includes a free bracelet design for beginners, with instructions. I purposely kept the design simple, so it will be easy to stitch. I hope you try it!
Click here to subscribe to my newsletters. They're jam-packed with information and tips and a free needlepoint design every time!
Needlepoint is a fun, relaxing, satisfying pastime. Give it a go!
How can you design something especially for
me over the internet?
It’s really not as difficult as you may think!
Whether the custom needlepoint design is for your home or something you want to wear, the stages are the same.
Let me give you an example.
Say you want me to create an original needlepoint design for a piano bench. Here’s normally how I go about creating a hand-painted design on canvas ready for you to stitch.
Information Gathering Stage
I ask you to provide me with the following:
- some general photos of the room where the bench is
- a photo of the bench with its dimensions (NOTE:see last question below on how to take the measurments we require)
- a description of the general colour scheme of the room
- a photo of any decorative pattern in the room, whether it’s on your drapes or on any other upholstery
Design Stage
• I prepare 1 or 2 colour drawings and then send them to you for your approval. Please note that the rendered colours always correspond to the colours from a specific yarn manufacturer.
• If the proposed design has a particular historical reference or influence, I include its history as well.
Production Stage
• Once I receive your approval to proceed, I hand-paint the design on quality needlepoint canvas to the agreed dimensions
Click here to see a sample of what one of my original hand-painted canvases looks like.
• I also prepare a list of yarn colours and quantities that you would purchase locally or online.
Final Stage
• I send you the hand-painted needlepoint canvas, signed and numbered.
• I also include:
- the list of colours and quantities of yarn, coded to the colours painted on the canvas,
- a tapestry needle,
- general instructions on the types of stitches to use with the specific design
- working instructions on how to start and finish the tapestry
- an historical design reference or influence, if applicable
- a drawing of the suggested making up of the item, if required (usually only for handbags, or belts)
Please note:
If you are looking for a needlepoint design for your wardrobe, I would ask you to provide me with:
• the colours you like to wear,
• the approximate size or dimensions of the item you have in mind, etc.
• After that, the design steps are the same.
Then you have the pleasure of stitching it!
I hope that you would send me a photo of you finished piece, and allow me to show it on this website!
How do I determine the amount of tapestry yarn I require?
A tricky question, and asked all the time!
First calculate the total area of your intended finished design. Simply do this by multiplying the desired width by the desired length to create the total square inches.
Divide the figure by 36. This gives you the number of hanks of wool that you will need.
On average, a tapestry hank covers an area 6 inches by 6 inches or 36 sq inches, with a standard basketweave tent stitch at 12 mesh gauge. So using 36 sq inches a hank is a pretty good estimate.
It’s certainly not an exact science, but generally it works for me.
QUICK ESTIMATE:
For a design with several colours, you can estimate what the percentage of the tapestry that colour takes up as compared to the total number of hanks. That will help you determine how many hanks per colour are required.
For example, say you’ve estimated you need a total of 10 hanks to create your tapestry. By eyeing it, one of the colours takes up about 20% of the design, so you’d need 2 hanks of that colour.
DETAILED ESTIMATE:
When I’m estimating the number of hanks required for one of my ZIVA kits , I do a detailed take-off of the square inches of each colour. I then add 10% to each colour quantity to be sure that there is no shortage, particularly if the design is very detailed, and there is more yarn wastage.
Because each person varies in their use of wool, and if you do a lot of stitching, you should always calculate out your own consumption as you work, so you can develop your own rule of thumb.
Click here for more help on choosing and working with the right needlepoint yarn.
Do you include the yarns with your painted canvas kit?
When I create my needlepoint designs, I have certain yarn colours in mind. I always include a list of these colours with their quantities with your hand-painted canvas kit.
This allows you to find the best price for yarn possible, whether it’s from suppliers on-line who ship world-wide or from your local needlepoint shop.
As a designer, I’d rather remain independent and work with the right yarns for the right project for my client, and not be tied down to one manufacturer.
Also, you may prefer a certain yarn manufacturer, so I’d rather develop the colours to suit your yarn preference.
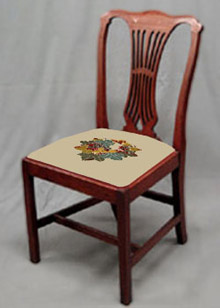
I want to try to design a needlepoint seat cover similar to the one that my mother stitched years ago. What canvas mesh would be right for it?
First of all, if you’re going to make a seat cover, the best canvas, no matter the gauge or mesh size, is evenweave canvas.
Because it’s woven, it will ‘give’ a bit when you sit on it, which is what you want.
Interlock canvas does not ‘give’, so may snap with wear, which is definitely not what you want!
CANVAS MESH
With canvas mesh, the higher the number, the more holes per inch... for example, 32 holes per inch for extremely fine work, such as ‘petit point’, to as few as 3 or 5 holes per inch, which is used mainly for rug making.
Depending on the detail of your design, 12,13 or 14-mesh are the most frequently-used meshes for cushions, chair pads and seat covers. If possible, try to count the holes per inch on the existing tapestry.
The more traditional designs from the 18th and 19th century are at least 18 gauge mesh. If the design you have has more detail, this would be the best gauge to use.
You could also use Penelope canvas which is a double gauge canvas… excellent for creating fine detail if required in the centre of the seat cover design, and a larger stitch for the surrounding background.
CLICK HERE to review more canvas mesh information including diagrams of each type, which should help you further.
Re: "… Needlepoint Piano Bench.
Can the canvas be
provided in 2 or 3 pieces that are stitched together upon completion of the stitching?
I ask because I think handling the whole bench cover size while
needlepointing would not work well for me."
Piecing needlepoint sections together after they’ve been stitched is something I try to avoid, whether it’s for piano bench covers, area rugs or any large piece.
Here are my reasons why:
- SEAMS
One piece tapestries are the strongest type since they have no seams.
If you work the tapestry in segments, they may be easier to stitch and block, but they are the most fragile because of the seams, making them vulnerable to wear and dirt.
- STITCHING TENSION
Individual stitching tension can vary from day to day, particularly when not using a frame.
Ideally, all the segments should be worked on the same frame. Otherwise exact blocking is very difficult.
- BLOCKING SEGMENTS
All segments must mesh exactly and be perfectly blocked, ideally on the same board.
However, it’s hard to avoid some distortion when stitching, so blocking out the imperfections can become difficult, particularly when the motif has to match perfectly from segment to segment.
- JOINING SEGMENTS
A design that is already in segments, such as a patchwork design with obvious breaks, would be easier to join, but you will still end up with a fragile tapestry, because of all the seams.
The usual method for joining segments is to hem the edges and sew the folds together with heavy thread or yarn in a decorative stitch, and make it part of the overall design.
However, butting a tapestry with a continuous motif is very difficult and is asking for grief.
There are other methods of joining segments, but they are usually done while the stitching is in progress, so you end up with the canvas getting larger as you go. Not what you are looking for.
BEST SOLUTION?
I agree that large projects such as piano bench covers are bulky to stitch and heavy, but using a frame on a floor stand can help to alleviate much of this problem.
MY TIP?
You have another (rather unorthodox) option.
When I stitched my own piano bench, (without a frame), I rolled the canvas I hadn’t stitched yet, and clipped both ends with large plastic paper clips to keep it in place. As I progressed, I rolled the finished tapestry the same way, so I was working on a small portion at one time.
This is similar to rolling your piece on a frame, but
without the frame!
It’s not as bulky, but it still can be heavy to handle, depending on the size.
I am interested in ordering a custom size seat
cover for my Victorian chair. There are a couple of patterns that interest me.
What information do you need in order to give me a price?
Thank you for your interest.
In order for us to fully understand the scope of the project you want to undertake, you need to provide us with:
- The name of the motif you have chosen.
- At least one photo of the chair showing the full chair seat.
Measurements:
- Rectangular seat cushion: measure from side to side and from front to back.
- If the seat has an unusual shape or is not rectangular (e.g. tapered from front to back), those measurements are also necessary.
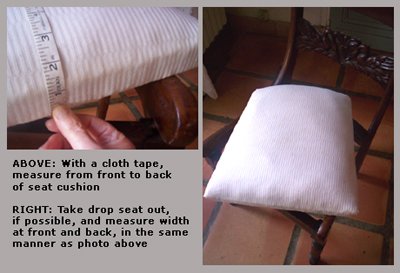
- Always use a cloth tape when measuring to allow us to take the seat padding dimensions into account (see photo below)
- If the padded seat drops into the chair frame, take out the seat and measure the width and depth with the cloth tape as shown in photo below
With all the above information, we can provide you with a quote.
Once we get started setting out the pattern on the canvas, we may ask you for more detail at that time.
I’m looking forward to receiving your information soon. I hope we’ll be able to work together on your project.
Best Regards,
Sylvia
I’ll keep adding to this page of frequently asked questions, to hopefully encourage you to look at needlepoint with new eyes.
If you still have a question, please don’t hesitate to contact me!
If you want to know more about my design background, go to About ZIVA
From frequently asked questions, back to the Home Page.
Like This Page?


Translate any page on this site to your language!


NEW!
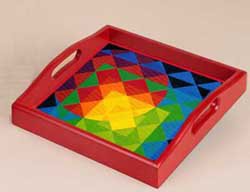
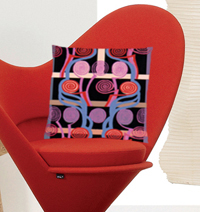
'MATISSE TRIANGLES' CUSHION DESIGN

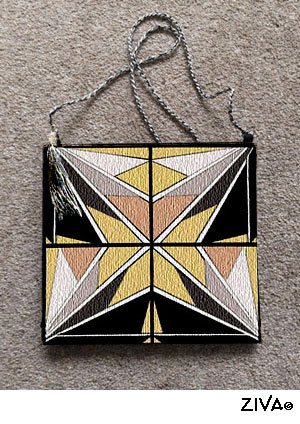
NEW!
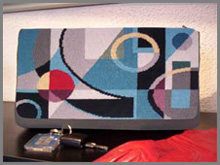
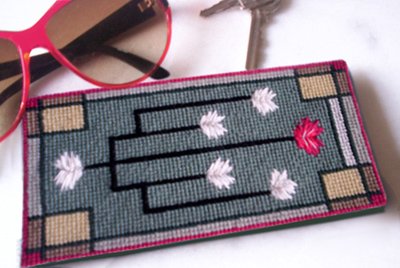
FREE ART DECO CELL PHONE OR GLASSES CASE DESIGN

NEW!

NEW!
THREE FREE
ANCIENT CHINESE CUSHION DESIGNS

NEW!
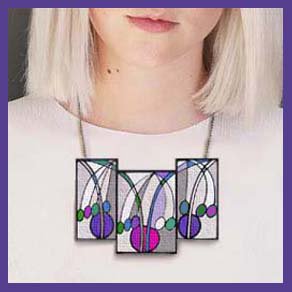
THREE FREE
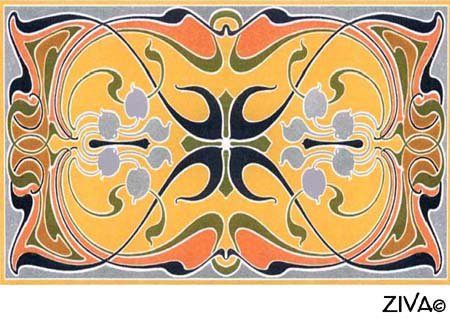
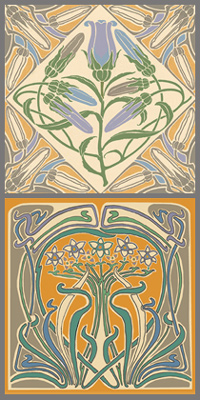
ART NOUVEAU
CUFF BRACELETS DESIGNS

NEW!
TWO PERSIAN
OR

NEW!
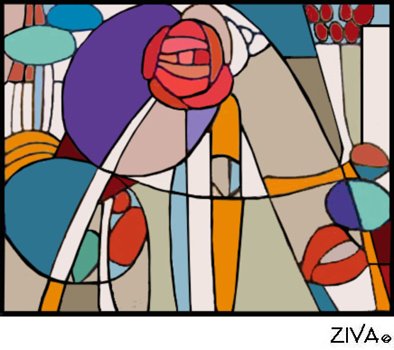
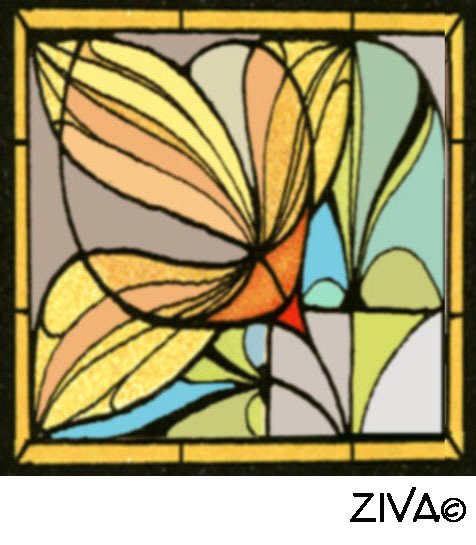
GAUDI'S STAINED-GLASS CUSHION DESIGNS
NEW!
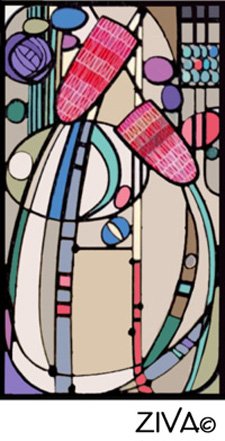
ANOTHER MACKINTOSH INSPIRED DESIGN!
WITH MANY USES...
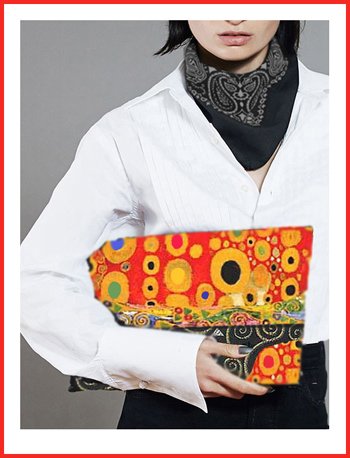
TRAY, FRAMED, CLUTCH BAG OR CUSHION!
TWO MORE
STAINED-GLASS DESIGNS
FOR CUSHIONS
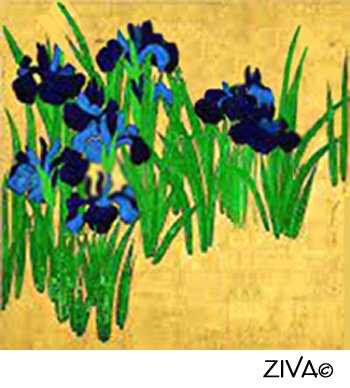
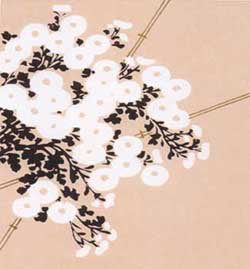
TWO MORE
JAPANESE DESIGNS
FOR
OR
FOR YOUR WRIST OR ON A BASE
YOU CHOOSE!
MORE!
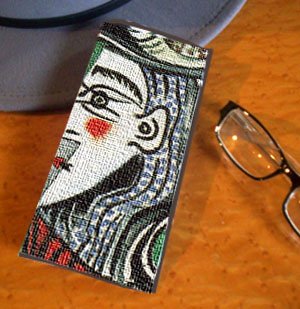
INSPIRED BY A PICASSO PAINTING!
FOUR MORE
FRENCH COUNTRY DESIGNS
FOR
OR
MORE!
NEW!

NEW!
NEW!
NEW!
NEW!
INSPIRED BY MACKINTOSH!
NEW!
NEW!
MORE
MORE
STAINED GLASS CUSHION PATTERNS

NEW!
FOR CHRISTMAS STOCKING!
NEW!
INSPIRED BY PICASSO!
FOR A COIN PURSE OR CARD HOLDER
NEW!
FOR CUSHIONS

FOR LOTS OF MAKING UP IDEAS!
FOR TOTE BAGS OR HANDBAGS
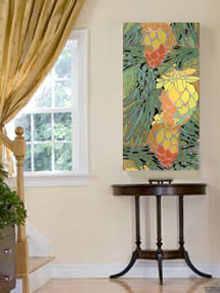
FOR NEEDLEPOINT ART
IN THE PRAIRIE STYLE!
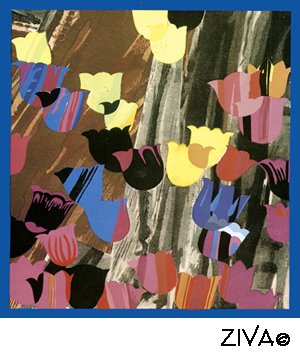
INSPIRED BY
MATISSE!
INSPIRED BY
GUSTAV KLIMT!
INSPIRED BY
MACKINTOSH!
CUSHION DESIGNS

'MY FRENCH COUNTRY' SERIES